
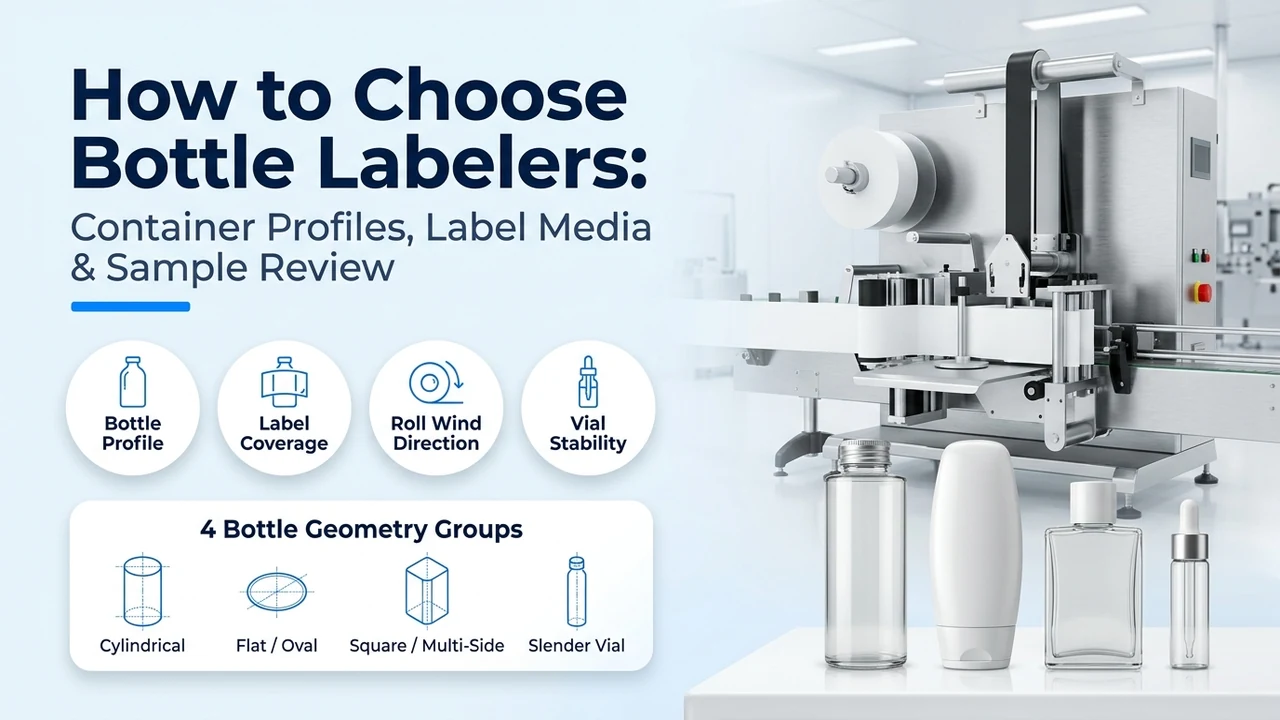
A cylindrical clear bottle, an oval white bottle, a square clear bottle and a tapered amber bottle standing on a gray workbench.
To choose a bottle labeling machine, first record every bottle shape and label position, confirm the label material and roll format, and define the required output and line interfaces. Shortlist a configuration only after these inputs match its proposed scope. Agree placement and adhesion checks on your actual samples before treating the selection as complete. LINEVO's published bottle range covers automatic production equipment; manual and semi-automatic equipment are discussed here only to help define your requirement.
| Input | Record or source | Selection consequence |
|---|---|---|
| Bottle set | Actual samples and dimensioned drawings for every SKU | Defines the container-handling review |
| Label layout | Artwork positioned on the bottle, including orientation references | Defines application positions and alignment questions |
| Label supply | Label converter's specification and production sample roll | Defines roll handling, detection and application review |
| Output | Your required accepted bottles per minute and shift pattern | Defines the operating target to demonstrate |
| Line boundary | Upstream/downstream equipment, transfers and available utilities | Defines integration scope and responsibility |
| Acceptance | Written criteria agreed by buyer and supplier | Defines what closes each sample-review item |
On this page
Which bottles must the configuration handle?
List every SKU before narrowing the machine choice. A round bottle with a straight label panel points toward a wrap-around review; flat or oval panels call for side-label placement and bottle alignment review. Square bottles, small dropper bottles and tapered label areas need their own handling questions. Use the bottle-labeling configuration page to find the published LINEVO application group, then record what remains to confirm for your bottle.
Measure the label area as well as the overall bottle. Record diameter or width and depth, overall height, usable panel height, taper, seams, ribs and any feature used to orient the label. Add drawing tolerances or observed sample variation without turning a few samples into a manufacturing tolerance claim. State whether samples are empty or filled and capped, and how production bottles will arrive.
Label position and orientation are separate requirements. A label can sit at the correct height while facing the wrong way relative to a handle, seam or embossed feature. Mark the reference feature on the drawing, identify the leading label edge and ask how the proposed configuration locates that feature. Leave the positioning criterion unknown until both parties agree a datum, measurement method and acceptable deviation.
Will the machine accept your production label roll?
Confirm the labeling method first, then send the material in the form production will use. Self-adhesive labels on a release liner require different equipment from glue-applied labels or shrink sleeves. A bottle photo does not establish that method, and most LINEVO catalog configurations leave the adhesive method for quotation confirmation. The labeling family guide explains these distinctions and the roll details to supply.
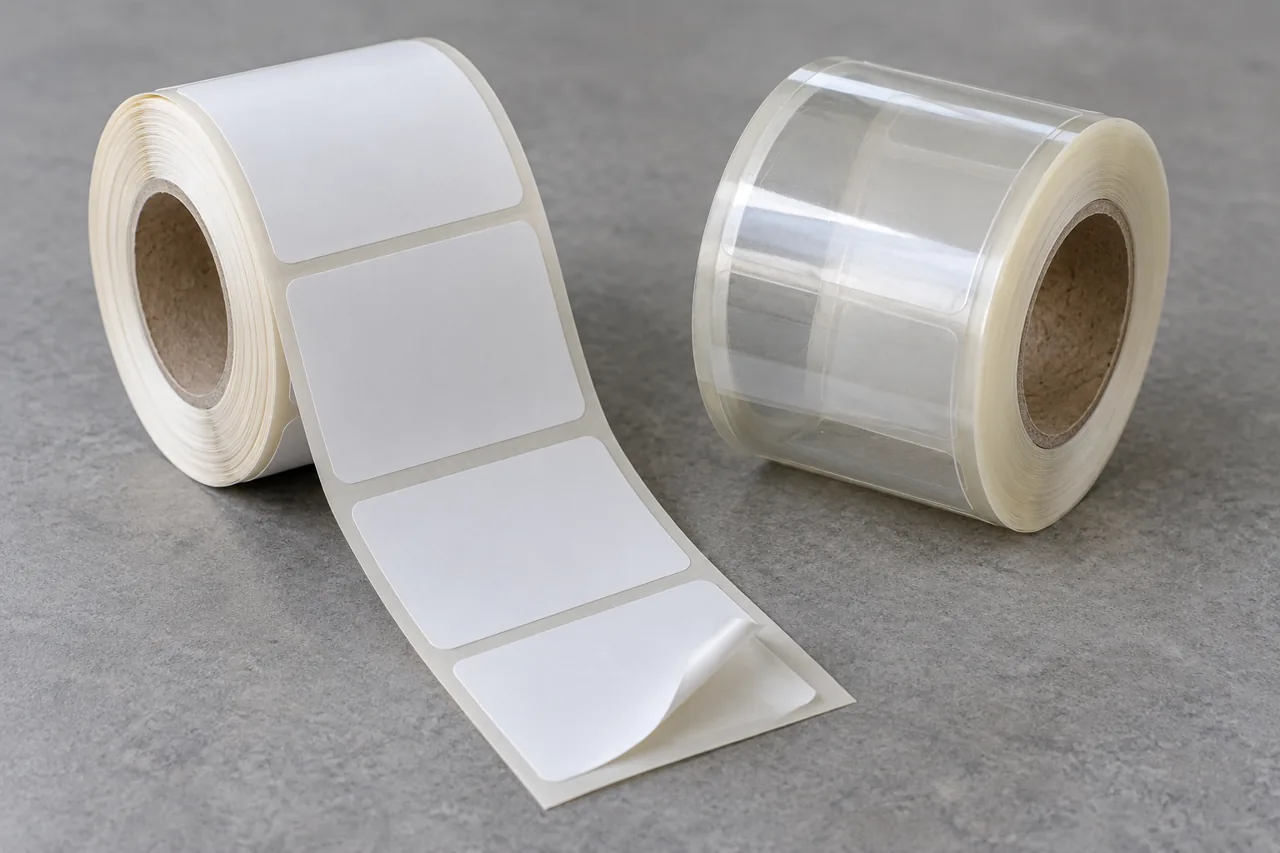
A roll of blank white labels with an unwound strip and lifted corner beside a roll of transparent labels on backing liner.
- Roll fit: core inner diameter, maximum supplied roll outer diameter, label dimensions and liner width, using the converter's drawing.
- Feed direction: print facing in or out, winding direction and which label edge leads. Use a roll sketch or photograph rather than relying on an unwind number that may be interpreted differently.
- Detection and peeling: gap between labels, liner and face material, clear or opaque construction, and any registration mark. Ask the supplier to demonstrate the proposed detection arrangement on the actual roll, especially for transparent labels.
- Surface and adhesive: bottle material, coating, dry or wet condition at labeling, application environment and storage conditions. Have the label converter confirm the adhesive selection for that combination.
For water bottles, record whether containers reach labeling dry, chilled or with condensation, and whether the chosen pack uses a self-adhesive label, a glue-applied wrap or a sleeve. The phrase 'water bottle labeling machine' alone does not identify the process. If a sleeve is proposed, record film and seam details and confirm the tunnel, heat source and site utilities separately.
Do not treat a generic glass test panel as proof of adhesion on your bottle. Avery Dennison's glass-substrate comparison, retrieved October 16, 2026, reports different adhesion behavior across actual glass packaging surfaces. For procurement, this supports checking the intended label construction on the intended container under agreed conditions; it supplies no LINEVO performance rating.
Do you need a hand-fed station or an automatic line stage?
Choose around the feeding task and production flow, as well as the required output. In a documented semi-automatic wrap-around arrangement, an operator places and removes each bottle by hand. For an automatic line stage, define container presentation, spacing, stabilization and transfer with the supplier. LINEVO's published bottle configurations are automatic equipment; a hand-fed or benchtop requirement falls outside that published range.
State output as accepted bottles per minute for a named SKU and label layout, rather than accepting an applicator-head speed as whole-line output. Agree the observation window, staffing, label count per bottle and treatment of stops and rejected bottles before comparing demonstrations. These are proposed acceptance conditions, not a published LINEVO speed or efficiency claim.
For a standalone station, record who loads bottles and clears the discharge. For an integrated stage, record conveyor height and direction, bottle spacing at entry, upstream stop/start behavior, downstream accumulation, transfer ownership and the electrical or control interface to confirm. Obtain utilities and footprint from the proposed-unit drawing; do not copy another configuration's values.
Frequent SKU changes add another selection question: which adjustments, stored settings and format parts are required for the next bottle and label? Agree a changeover demonstration between the actual formats. Once the configuration boundary is clear, use the labeling machine cost worksheet to compare included scope without confusing a head-only offer with a complete line stage.
Copy the SKU requirements and sample-review worksheet
Copy both tables into your project document. Repeat the first table for every SKU, with a shared document revision for the bottle drawing, label drawing and sample roll. Empty fields mean unknown, not accepted. The second table records what the proposed configuration has demonstrated; keep requirements and observed results in separate cells.
| Field | What belongs here | Your entry |
|---|---|---|
| SKU and revision | Product identifier; bottle and label drawing revisions; sample IDs | |
| Container dimensions / tolerances | Material; diameter or width × depth; height; panel; taper; drawing tolerances and sample variation | |
| Label drawing / roll | Method; label and liner dimensions; core and roll diameters; winding; leading edge; gap; face stock and adhesive | |
| Orientation | Label locations; bottle datum; required relationship to seam, handle, cap or other feature | |
| Adhesion / storage constraints | Bottle surface at application; application conditions; intended storage and handling | |
| Output and changeover | Required accepted bottles per minute; shifts; formats to change between; operator role | |
| Line interfaces | Infeed/outfeed equipment; transfers; conveyor height and direction; signals; utilities to confirm | |
| Positioning criterion: agreed / unknown | Datum, measurement method and acceptance limit; mark unknown until agreed | |
| Other acceptance criteria | Agreed appearance, adhesion observation conditions, coding and reject checks if specified |
| Record item | Required evidence | Result / reference |
|---|---|---|
| Configuration identity | Proposed unit, options, handling parts and settings under review | |
| Sample evidence | Sample IDs; roll revision; date; conditions; agreed count/window; photos, video or written record references | |
| Position and appearance | Observed measurements and defects against the agreed SKU criteria | |
| Adhesion observation | Observed result after agreed conditioning/storage and observation interval | |
| Output / changeover / interface | Observed accepted output and stops; changeover record; interface checks within the agreed scope | |
| Unresolved issue | Requirement or evidence still missing; effect on selection | |
| Owner and closure evidence | Responsible person; next check; document or sample record that closes the issue | |
| Selection decision | Accepted for this scope / further review required / outside scope, with buyer and supplier agreement |
What should close the sample acceptance review?
Close each requirement with evidence from the agreed bottle and label combination. Agree representative samples, quantity, shipping instructions and expected deliverables before sending material; the sample-testing preparation page describes that process. A demonstration on a different bottle is useful context, but does not close your SKU record.
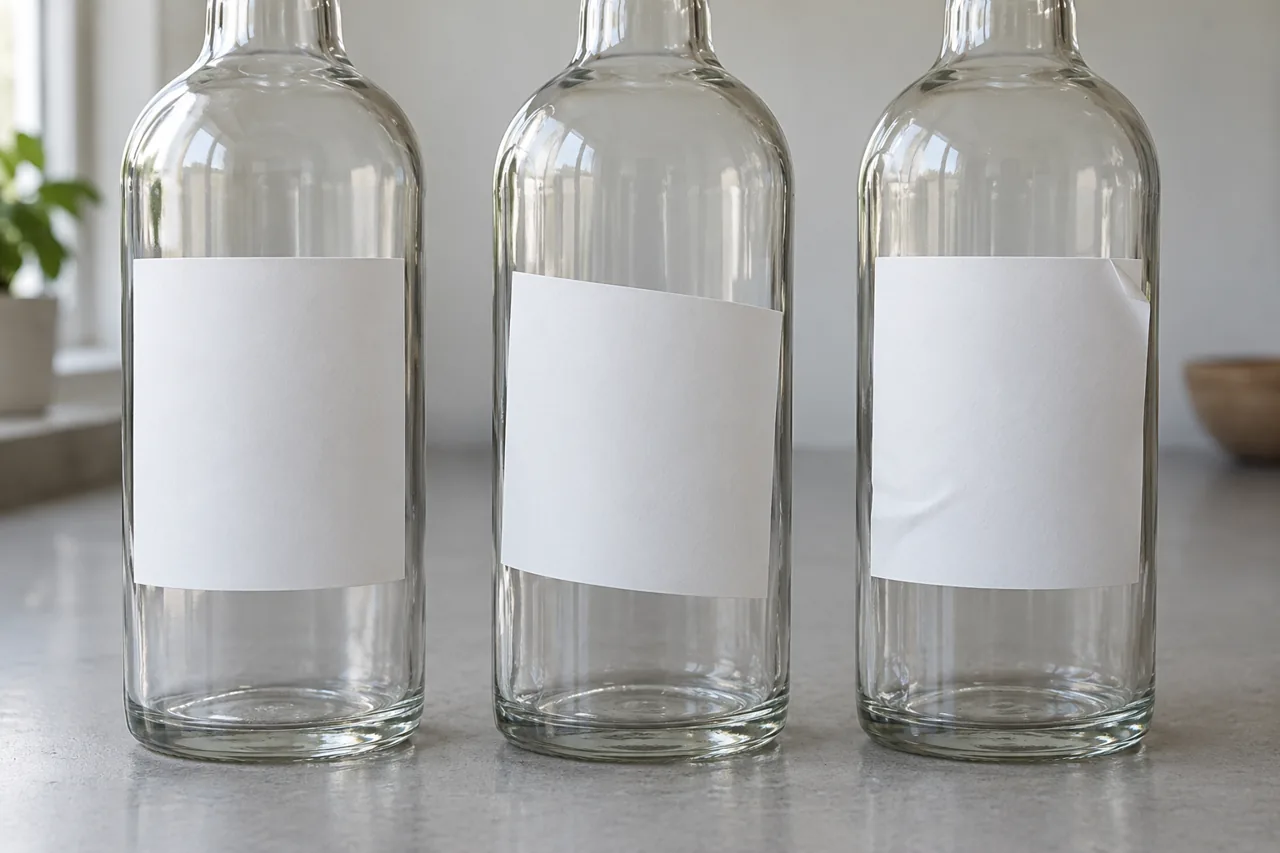
Three clear bottles with blank white labels: the left label is level, the middle label is tilted and the right label has a wrinkle and raised corner.
- Identify the samples: match bottle, label roll, adhesive and drawing revisions to the SKU record. Note filled/capped state and surface conditions.
- Check positioning and appearance: use the agreed datum and measurement method. Record label height, rotation or skew as applicable, plus wrinkles, bubbles and lifted edges against the agreed appearance criterion.
- Check adhesion under the agreed conditions: record storage or conditioning, observation interval and inspection result. Good appearance immediately after application does not answer later edge lifting; use the converter's relevant material guidance to agree the check.
- Observe the production task: record accepted output and stops over the agreed window. Include the planned operator role, roll replacement and SKU changeover where they are part of the acceptance scope.
- Check specified options and interfaces: if the purchase includes coding, inspection or rejection, agree the fault challenge and evidence in advance. Record which line transfers and signals were checked and which await site integration.
- Resolve exceptions: identify the affected SKU, responsible person and closure evidence. Restrict acceptance to the scope demonstrated; keep other formats and conditions open.
The images on this page show bottle and label features to discuss. They are not sample records. Attach your own identified samples, observations and agreed evidence to the worksheet rather than using an attractive finished-bottle photo as acceptance.
Method and sources
Compiled from LINEVO's live labeling family, bottle configuration, cost and sample-testing pages, reread October 16, 2026. Category-level checks were cross-checked against public wrap-around, two-side and semi-automatic labeling documentation retrieved the same day. These explain handling, orientation and detection questions; their equipment ratings are not LINEVO specifications. The glass-surface caution uses the linked Avery Dennison material comparison.
The worksheet and checking sequence are procurement recommendations, not a technical standard or a report of completed trials. Unit output, positioning limits, options, utilities, dimensions and commercial terms remain subject to configuration review and written agreement. This guide does not rank manufacturers, publish prices or supply a download attachment.
Turn the worksheet into a configuration enquiry
Discuss your bottle labeling project with the completed SKU worksheet, bottle drawings or sample details, label specification and roll details, target output and line interfaces. If you first need to separate adhesive media, applicator transfer heads, placement geometry and container posture in supplier specifications, review types of labeling machines. Mark unknown criteria and open sample checks. The team can review the application and proposed scope and confirm whether a sample test is needed; agree sample quantity and shipping instructions before dispatch.